How to Install Plone 5.2.10 in Ubuntu 22.04.1 Lts Using Unified Installer
In this blog, we are going to discuss how to install a Plone 5.2.10 instance in
Ubuntu 22.04.1, follow the guide step by step,
Step 1: Get the unified Installer package using the command.
wget https://launchpad.net/plone/5.2/5.2.10/+download/Plone-5.2.10-UnifiedInstaller-1.0.tgzStep 2: Extract the .tgz file
tar -xf Plone-5.2.10-UnifiedInstaller-1.0.tgz Plone-5.2.10-UnifiedInstaller-1.0/
Step 3: Change the directory to the extracted folder
Cd Plone-5.2.10-UnifiedInstaller-1.0.tgz Plone-5.2.10-UnifiedInstaller-1.0/
Step 4: The installation of the necessary packages for Python3 can be done
using the following code:
sudo apt-get install build-essential python-dev-is-python3 libjpeg-dev libxslt-dev python3.8-dev
sudo apt install python3.8-venv
Step 5: now run the install.sh script to run the installer
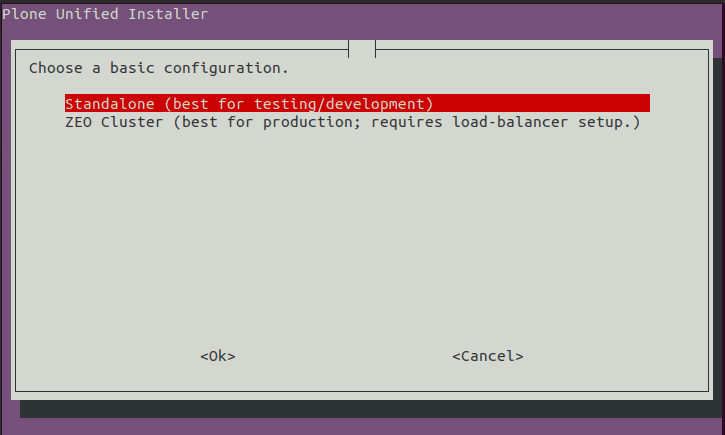
./install.shStep 6: Choose The Basic Configuration

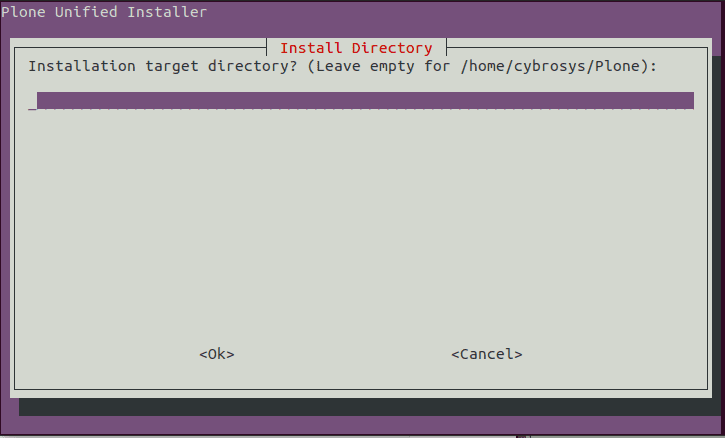
Step 7: Set the target directory for installation

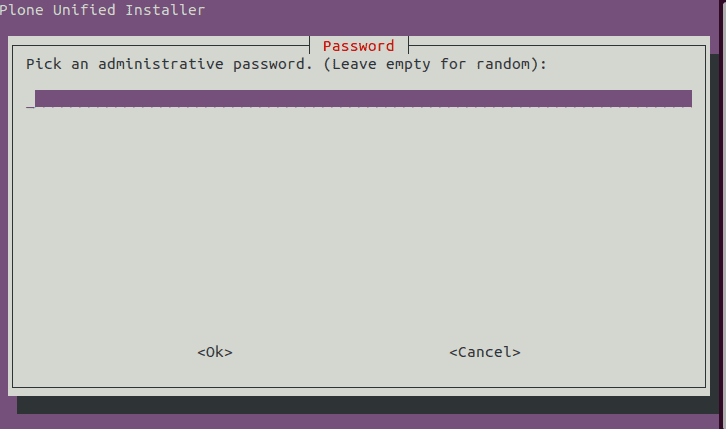
Step 8: Set an administrative password (you can change this later in
url_to_my_zope_root_folder/acl_users/users/manage_users)

Step 9: Open the terminal from the ‘zinstance’ in the installed directory and run the below
command to run buildout
./bin/buildout
Buildout assembles all the eggs (python package), with the correct version requirements to
solve all dependencies. This doesn’t affect the system python packages at all.
Step 10: Now, from the terminal, run the command given below to start the instance
./bin/instance start
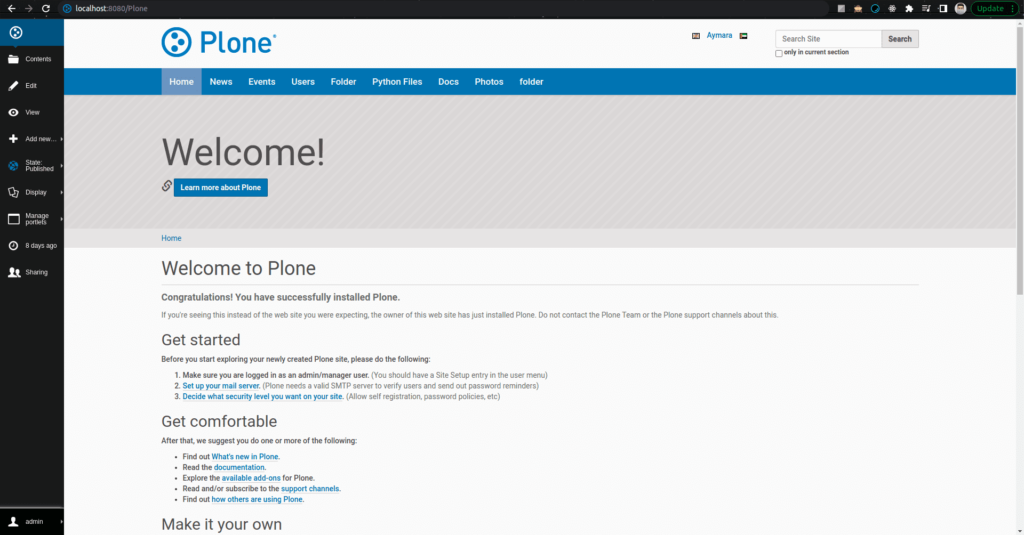
The instance will start to serve on http://localhost:8080/

Other commands :
./bin/instance fg (Used for development purposes, as it serves the complete live log of the
running instance, the user may experience slow performance)
./bin/instance start (To start the instance)
./bin/instance stop (To stop the instance)
./bin/instance debug (used to debug the instance)
./bin/instance run myscript.py (used to run custom.py files)
